
Lab Film Scanning Cost Hike: How to Digitize Negatives at Home for Free
With lab scanning pushing total cost past $20 per roll, switching to a develop-only order and scanning at home with your smartphone and NegaScan cuts recurring costs in half.
Between film price spikes and steady rate increases at local labs and chains like Kitamura or drugstores, shooting analog is getting expensive. When scan-and-transfer adds $8 to $12 to every single roll, processing fees quickly outpace the cost of the film itself.
1. The True Cost of Lab Scanning
Check your lab receipts: the chemical development itself is reasonable, but scanning and digital delivery carry hefty markups.
- Develop Only (sleeved negatives): $6.00 – $9.00 / roll
- Develop + Digital Download: $16.00 – $22.00 / roll
- High-res TIFF scans: an extra $5.00 – $10.00 / roll
Save over $100 every 10 rolls
Shooting 10 rolls with lab scanning costs nearly $200. Ordering develop-only and inverting at home brings that under $80 — saving enough to buy 6 fresh rolls of Gold 200.
2. Why You Don't Need an Expensive Desktop Scanner
Dedicated film scanners ($300–$600) are bulky, take 30–60 minutes per roll, and rely on outdated driver software that frequently crashes on modern operating systems. Your smartphone camera (12MP–48MP) already has superior dynamic range and resolving power.
3. Build a Zero-Dollar Home Scanning Rig
- Backlight: A tablet or secondary phone displaying a pure white screen at 100% brightness. Elevate the film slightly to avoid pixel mesh patterns (see our full guide to inverting film negatives at home for setup tips).
- Capture: Darken room lights, align your phone camera parallel to the film, and lock AE/AF to prevent exposure shifts.
- Leave Base Margin: Always include a small piece of the unexposed orange film border in your frame for calibration.
4. Invert and Remove the C-41 Orange Mask with NegaScan
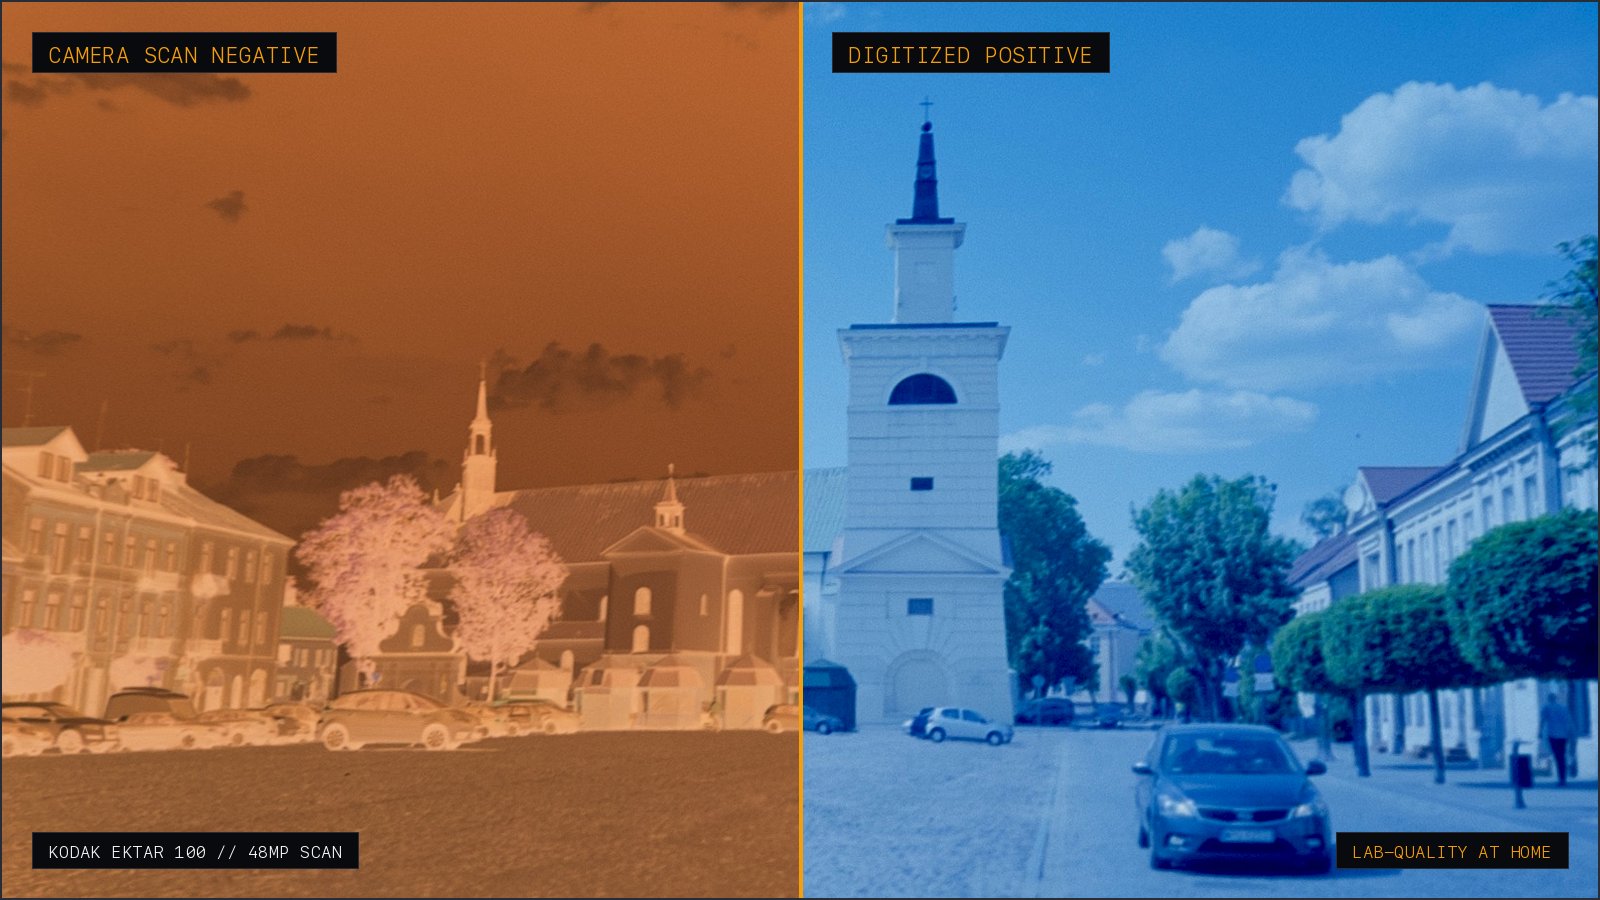
Standard photo invert tools turn skin tones cyan because color negative film carries an orange base mask. As detailed in our breakdown of C-41 orange mask subtraction maths, simple RGB inversion fails to account for dye density. NegaScan samples that base and subtracts it in optical density space using client-side WebGL.
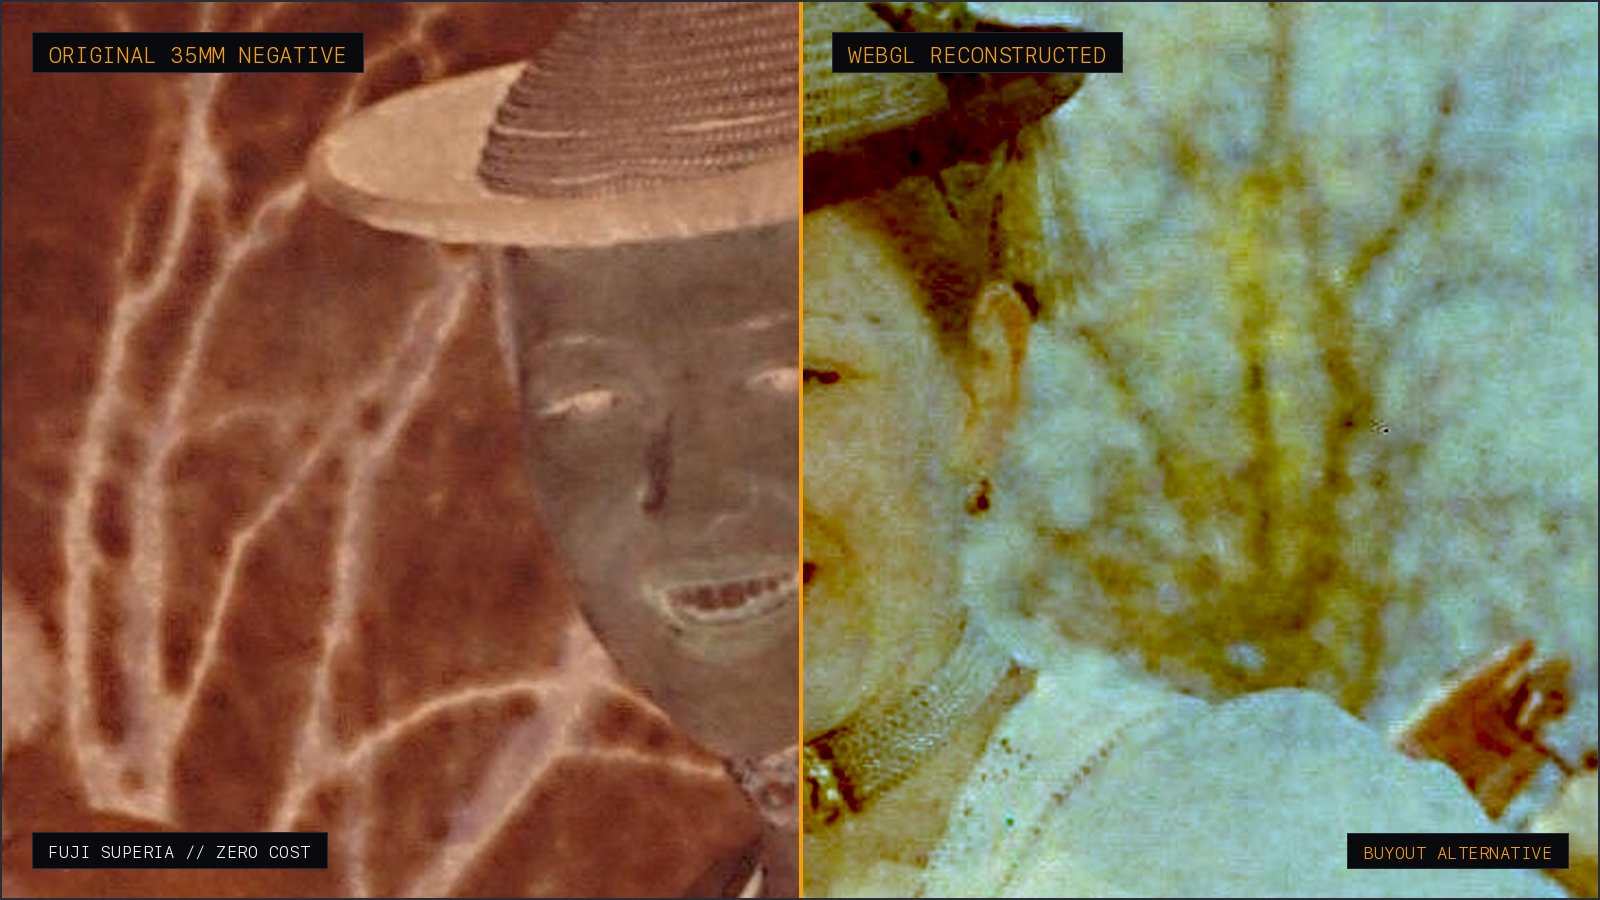
Drag the divider: raw backlit phone capture on the left, clean positive on the right.
5. The Sustainable Film Workflow
- ① Always ask your lab for Develop Only (save the digital transfer fee).
- ② Photograph the sleeved negatives at home on a clean white backlight.
- ③ Drop the captures into NegaScan (Web or buy-once iOS app) for instant positive export.
Don't let scan fees keep you from shooting film. By keeping chemical processing at the lab and handling digitisation on your phone, analog photography stays accessible and affordable.
Technical FAQ
- Can I really ask a commercial lab for 'develop only'?
- Yes, virtually all commercial labs and photo chains support develop-only orders (receiving sleeved uncut or cut negatives without prints or scans). This cuts your per-roll lab bill by roughly 50% to 60%, removing recurring scan fees.
- Why do my inverted negative scans look blue or murky?
- Color negative film uses C-41 chemistry with a distinctive orange base mask. Simply inverting RGB values turns orange into dark cyan. Clean color requires sampling the unexposed orange border and performing division in optical density space rather than linear RGB subtraction.
- Is phone camera scanning good enough compared to lab Noritsu or Frontier scanners?
- For online sharing, archival, and standard prints, yes. Modern phone sensors (12MP–48MP) deliver resolving power that frequently surpasses standard lab web scans (which are often compressed 2MP–6MP JPEGs), while giving you complete creative control over exposure and color balance.
- Are mobile scanner apps safe to use for private film photos?
- Be cautious: many popular scanning apps upload your scans to remote cloud servers for processing and push aggressive weekly subscriptions. NegaScan runs 100% locally on your device via client-side WebGL shaders, ensuring zero cloud uploads and complete privacy.
Keep reading
- How to Transfer Disposable Camera (QuickSnap) Photos to Phone Without Paying Lab FeesFinished a Fujifilm QuickSnap or disposable camera? Learn where to develop it, why stores charge $15+ for smartphone scans, and how to get develop-only negatives and scan them to your phone at home.
- How to Invert Film Negatives on Phone Without a $48/Year Subscription (Best Film Scanner Apps 2026)A comprehensive review of mobile film scanner apps. Exposing the predatory weekly subscription traps of FilmBox and Photomyne, and comparing one-time buyout alternatives like NegaScan.